Experts suggest that you should paint laminate flooring if you want to increase the lifespan of your floors. Here’s why.
The trend of using laminate flooring is increasing with time. But the thing to keep in mind is that they won’t last forever. After a few years, laminate floors will display signs of damage and wear and tear.
You have two choices: either to tear it off from the floor and replace it with new covers, or you can paint over the scrapes and scratches on the surface.
If you’re trying to save money on connections or prefer to DIY your floor, then painting laminate is the best option. But how accurately do you paint laminate flooring?
You need to follow five steps: clean, sand, repair, prime, and paint. With patience and the correct tools, you can achieve a total DIY makeover of your laminate floor into whatever you want it to be!
We’ll be further explaining the different ways to paint your laminate floors in a detailed step-by-step guide. Let’s begin.
Should you paint laminate floors or not?
Eliminate all the messy stuff from your laminate surface before applying any paint.Now, you should sand your floor with an orbital sander and clean it again. Protect the surface with painter tape and start repairing its damaged spots.
Further, use oil primer and dry it before painting the floor. You might see some tears in high-traffic areas; you should apply extra coats on these spots. Finally, apply the right sealant for a glossy finish.
Tools Required to Paint Laminate Floor
Here are the important tools that you will be needing to paint and give your laminate floors a new look;
- A mop
- A towel
- Paint
- Primer
- Sealant
- Paintbrushes
- Tray
- Floor sander
- Cleaner/all-purpose cleaner
These items are necessary to begin the removal process of paint from the laminate floors.
What is Laminate Flooring?
To begin with the step-by-step procedure of painting the laminate floors, we will beforehand learn some basics that you might need to know about laminate floors:
Laminate floors are basically flooring type that is used in the modern era to replicate the look and appearance of wood and make it closer to reality.
These are relatively cheap and inexpensive as compared to the other hardwood floors.
Layers of Laminate Floors
So, laminate floors consist of 4 basic layers.
Back Layer
The first one is that the protective layer will protect your floor from getting scratched, stains, burns, and wear and tear.
Core Layer
Above the back layer; is an extremely dense, durable board that safeguards the material from moisture and indentations.
Designer Layer
The next layer is the designer layer, now, this layer is here to enhance the appearance and make these floors look appealing and more attractive.
This layer is built out of an image of wood or tile, and then that image is printed onto the layer and sealed with a melamine resin.
One of the reasons that the laminate floors feel so real is that the print of it is taken from the image of the real wood.
Balancing Layer
The final layer of your laminate floor is called the balancing layer. The purpose of this layer is to strengthen the base of the floor.
It controls the amount of pressure that the floor can withstand. And make sure it supports and provides safety to the floor.
Guide to Paint Laminate Floors With Ease
Its time to paint your laminate floors, but for the best results some important precautions are necessary which are as follows:
Step 1. Cleaning Your Floors
To begin with, painting the laminate floor you first need to make sure that the floor is properly clean.
As the unclean and dirty floor will eventually ruin the overall look of the laminate floor if any paint job is done on it.
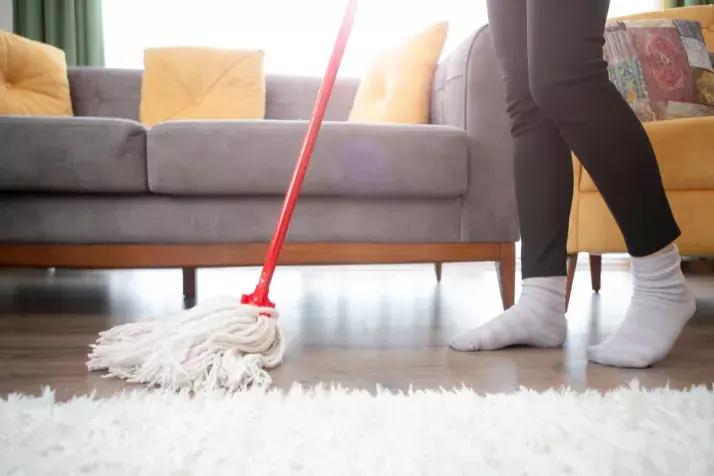
To clean the floors you’ll need a multi-purpose cleaner and a mop for deep cleaning.
The cleaning part is considered the most essential because even the tiniest of dust and dirt particles if any left on the surface, can damage the entire look and appearance.
Step 2. Sanding Your Floors
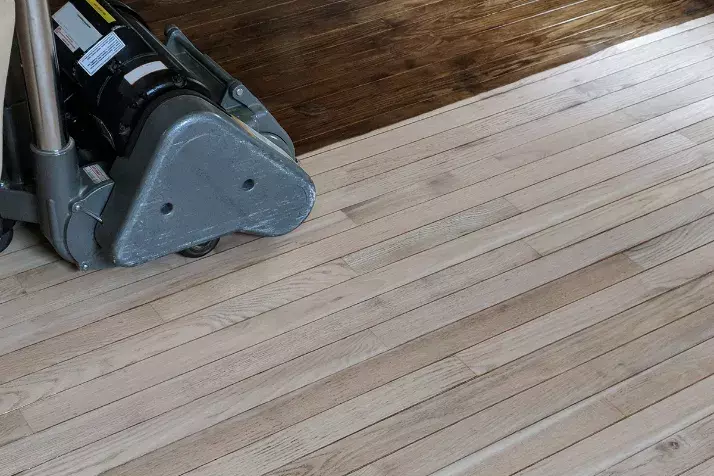
Since your floors are spotless and shiny, it’s time to sand them. The best sander here to use is the random orbital sander.
The purpose to use the sander here is to remove the top layer of the laminate. It will ultimately make the floor dull to make the paint look much more realistic and appealing.
So you’ll need to sand the floor until you feel that it is entirely rubbed for the best results.
But once you feel it is scuffed enough, it’s best to stop without going any further with the process as it might damage it.
Step 3. Cleaning Once More
Because of the second step, you will need to clean off all the dust and dirt that appeared to proceed with the next step.
For this part, it’s best to use a dust mop and a damp cloth to remove any excess dirt. Ensure that the floor is dry before moving to the next step.
Step 4. Using the Painter’s Tape for Protection
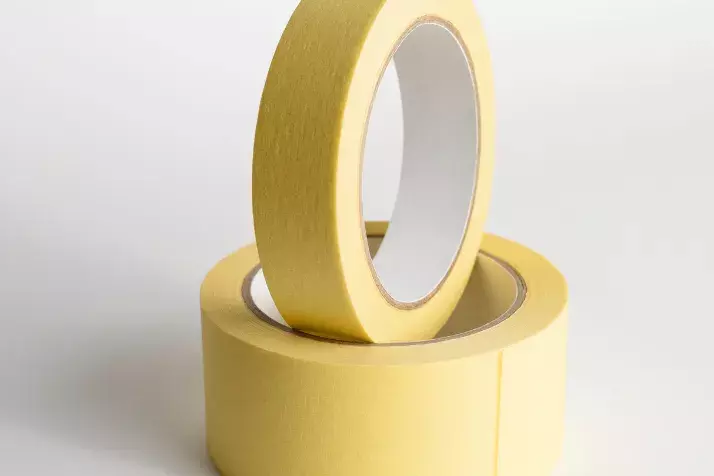
Use the painter’s tape for the areas you need to save from getting any paint. It will save time and won’t let any of the other areas get excess paint.
The painter’s tape, on the other hand, is easy to remove and peel off. It is accessible and available in any of the hardware stores, and you can easily get it.
Step 5. Repairing Any Damaged Part
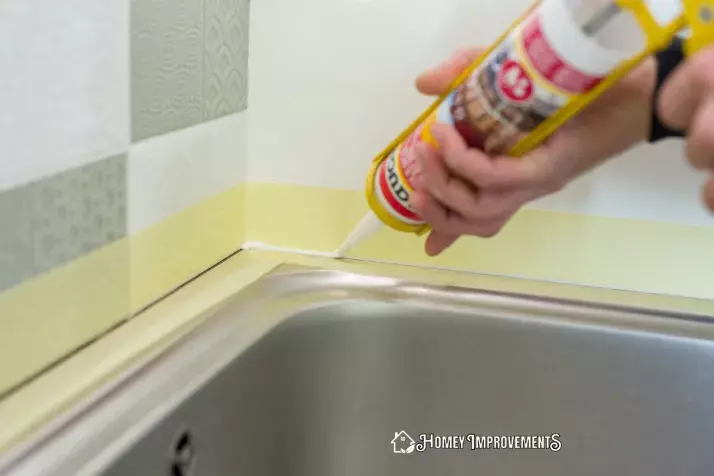
After the protection, it’s time to inspect and check whether there are any damages on the floor. Laminate floor sealants are used to fill the holes and scratch marks if there are any on the floors.
Step 6. Prime the Floors
The main purpose of priming your floors is to protect the base layers of the floor and enhance its aesthetics.
It’s best to use the top-quality oil primer to prime the flooring, as it will provide a smooth and firm image of the floor.
Priming at the far end will prevent it from dripping all over the floors and also avoid any damage.
Before moving to the next step, it’s better to let the oil primer dry out completely and avoid getting in contact with the primed floor.
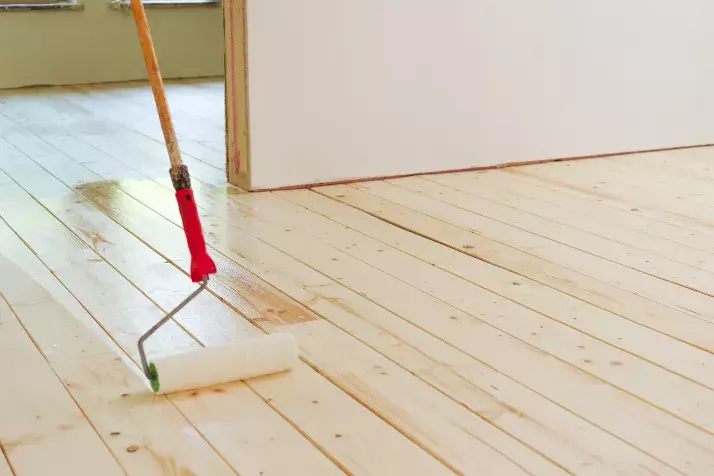
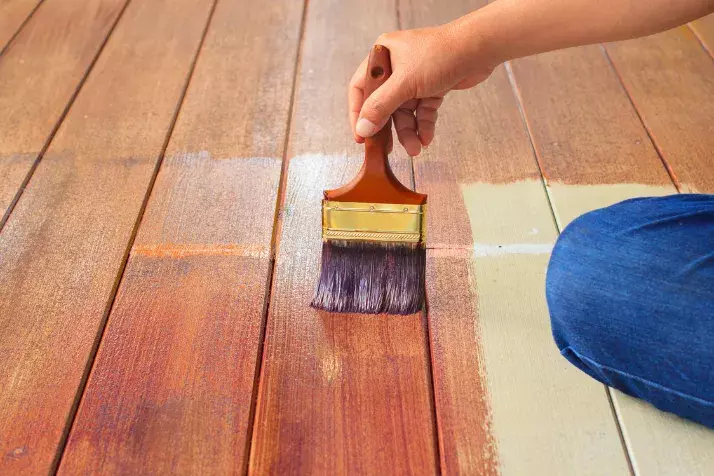
Step 7. Applying the Floor Paint
Now it’s time to start painting the floor. The important part here is choosing the right type of paint design and color, especially for floors.
Make sure to select the floor paint that is more durable and will withstand heavy traffic and usual wear and tear. And it is as important to apply at least two or more full coats of paint.
Applying more coats will make it denser and protect it further. Keep in mind to wait and let the single coat of paint dry before moving on to the next one.
Step 8. Applying the Sealant
The next step here is to apply the sealant to the floor. It will help the floors from any further damage. Also, the sealant helps fight against any cracks and scratches that may occur with time.
For the best results and high-quality output of the floors, it’s best to use the correct type of sealant. One of the most popular sealants for flooring is known to be polyurethane.
Polyurethane has protective properties that relate to the paint. While this works like a top cover and coat to protect the floor from any scratches and marks.
The sealant should be applied gently to ensure a smoother surface.
The recommended layer to apply the sealant is around 2-3 layers, at least for best results. After applying the layers of sealant, now it’s time to set back to normal spacing and setting.
You can now bring all the heavy furniture and décor back to its place and enjoy the aesthetically attractive view of the laminate flooring.
Should You Paint Your Laminate Floor?
It is undoubtedly possible to paint your floors, but only with the right set of tools and types of equipment, also with the proper knowledge of them.
But the thing is, most people prefer not doing it by themselves as a lack of knowledge and access to proper tools will only make things worse.
It is important to invest in a high-quality sealant, sander, and primer. A proper sealant application is also important to get the best out of painting the laminate floorings. A poorly applied sealant can easily get scratched off the floor by moving furniture or feet.
How Much Does It Cost to Paint Laminate Flooring?
The cost usually depends on the quality of products intended bought to paint the laminate floors.
But, here are the approximate costs to paint the laminate floors.
- 2 to 3 gallons of primer cost around 50$-105$
- 2 gallons of paint can cost you around $35-60$
- 1 gallon of sealant or epoxy is around $100-$150
- Paintbrush, rollers, and other tools can cost around $25-50$
- Sanders and sanding blocks cost around $10 to $25
- The cost of an orbital sander is around $22 to $35
Note:
- These prices are not actual prices quoted but are approximate values and may vary depending on product, brand, and quality.
FAQs – Frequently Asked Questions
How Do You Update Old Laminate Flooring?
To update the old laminate flooring, you can either replace it with new flooring, or you can use paints to add a new texture to the flooring.
Can You Change the Colour of The Laminate Floor?
The colors of the laminate floors can be changed by staining, painting, and also by replacing them to install the new ones instead.
What Kind of Paint Do You Use on Laminate?
Latex paint is the ideal paint to use on a laminate floor.
What Happens if You Paint Over Laminate?
If you paint over the laminate floor, the paint will eventually start to peel off and ruin the floor’s overall look.
Can I Paint Laminate without Sanding?
Yes, you can perfectly paint the laminate floors without sanding them.
Can You Spray Paint Laminate Flooring?
Yes, you can use spray paint for the laminate floors to fill up the faded parts.
What Primer Works Best on Laminate?
The Kilz all-purpose primer is known to be the best working primer on the market.
Conclusion
There are many precautions to be kept in mind while you plan to paint your laminate flooring.
And it’s pretty possible that painting the laminate floor might increase the dynamics and overall look of the house.
So we have explained almost every aspect related to painting your laminate floors and the points to keep in mind.
And we hope that by going through this article, you will surely gain and learn new ways to paint your laminate flooring.
Leave a Reply