If your tiles look bad due to the broken grout, you can regrout them and change the appearance of your tile floor. The durability of tiles depends on their grout condition. But, how can you regrout a tile?
You are fed up with your floor tiles outdated and tired look. Over time, the wear and tear have made the tiles in very bad condition.
Or you want to regrout your tiles yourself because the cost of doing it by a professional is not affordable.
No need to worry about these issues because you will find the solution to all your problems in this article. I will share eight effective and easy steps to regrout your floor tiles.
Tools and Materials Required
- Grout mix
- Tile sealant
- Oscillating tool
- Cloth
- Tape
- Bucket
- Trowel
- Knife
- Cleaner
- Toothbrush
- Sponge
- Grout float (a tool to spread grout)
- Tile finishing tool
Time Required to Regrout Tile
- One tile takes a few minutes to grout
- Grout setting takes 24 hours
Tile Regrouting Process – Steps to Follow
First, you must clean the grout because it contains fungus and dirt, which must be removed before regrouting.
The best way to clean grout is by bleaching it. Use a bleach solution that is safe for your tiles. You can use hydrogen peroxide solution for cleaning grout.
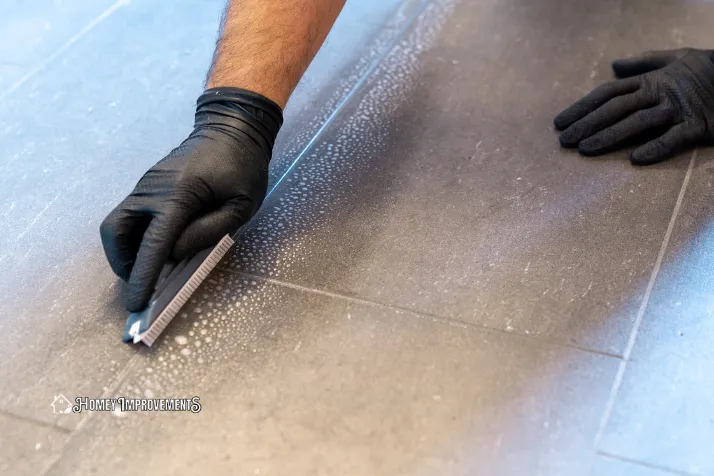
Apply the bleach to the grout lines and scrub them with a toothbrush. Then rinse thoroughly. If it is difficult to scrub all the grout lines with a toothbrush, you can use a razor blade to scrape the upper layer.
You have to make space for the new grout; that’s the reason you need to scrape the old grout. The next task is to apply tile sealant over the whole surface to prevent mildew growth.
In case of cracks in your grout, apply grout sealant to provide a water-resistant and harmless wall between the first grout.
Here’s an easy method of regrouting your tile floor involving the following the steps discussed ahead:
1. Preparing the Grout Area
Before starting the work, clean your tile floor thoroughly with a vacuum or broom to remove all the grime and dirt.
Examine all the tiles carefully for any damaged piece that might create problems during work. Cover the drains by putting tape over them.
You must have all the necessary tools and materials that are mentioned above. All these items are important, and every tool has its function.
2. Removing Old Grout
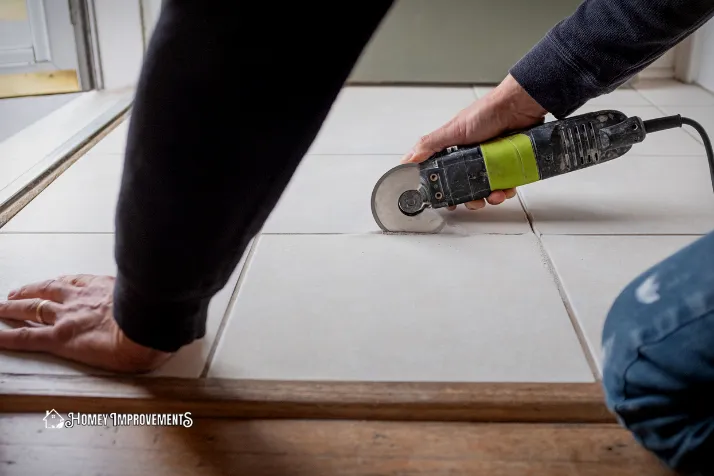
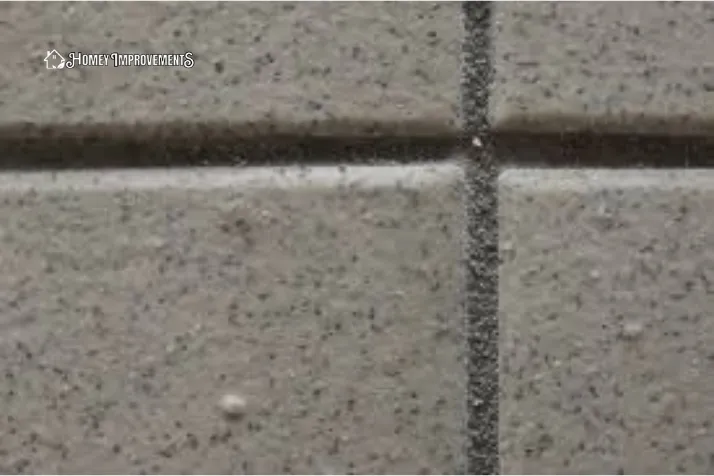
After preparing the floor, use the oscillating tool to remove the old grout between the tiles. The oscillating tool removes the grout without damaging the tiles because the power operates it.
Removing grout from tiles is time-consuming, but you have to be patient. Start removing the grout from one end of the grout line to the other.
Do not force the tool to do the work; let the power do it. When you have removed all the old grout with an oscillating tool, remove the residues with a knife but do not scratch the tiles.
Sweep all the residues of grout on the floor. Now wash the entire surface with bleach to remove all the dirt and fungus. Rinse the floor and dry it with a cloth or sponge.
3. Vacuum the Surface Thoroughly
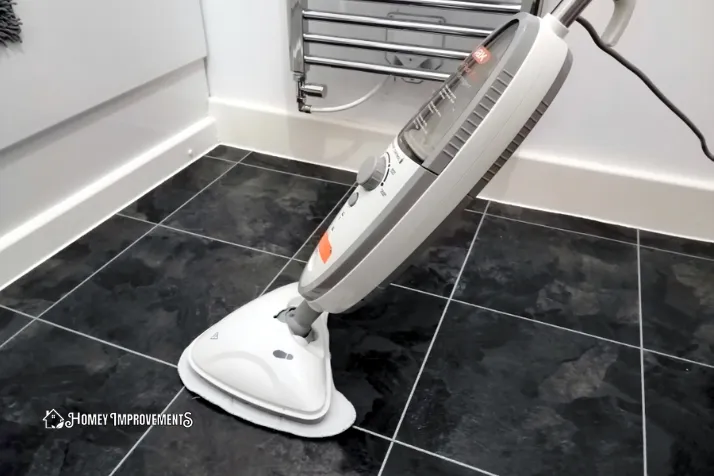
Vacuum the tile thoroughly after removing the old grout and cleaning the surface. This step will clean all the hard-to-reach places on the floor. To clean these areas, use a nozzle or telescopic wand.
Before filling new grout in the grout lines, it is essential to clean them properly. Now, apply a pre-grouting sealer to protect the tiles.
4. Mixing Grout
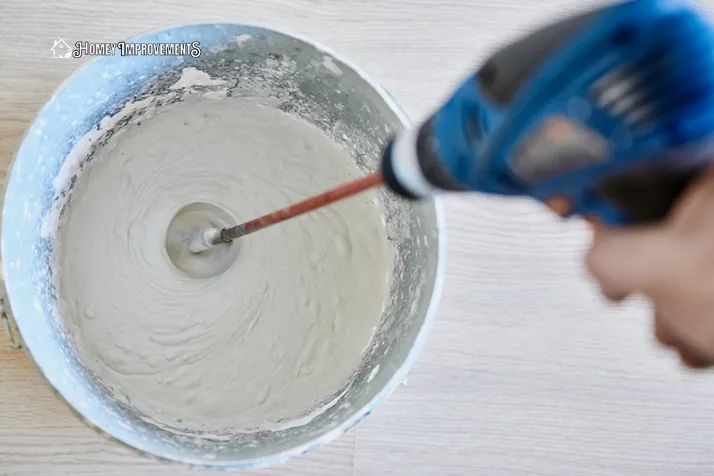
Please read the instructions given with the grout label and follow them. First, check its color by applying it to a small area.
Both wet and dry grout mixture is available. Select the type of grout according to your requirement. You have to mix dry grout in water.
If the size of the grout joints is ¼ inch or less, you must use unsanded grout, while sanded grout is used for the grout joints of ½ inch wide or more.
Never use unsanded grout on the grout joints wider than ¾ inches because it decreases its size and holes appear on it after drying.
Before starting the project, you can check your grout type on a small area to ensure that you are using the right type according to the size of the grout joints.
5. Filling of Grout Lines
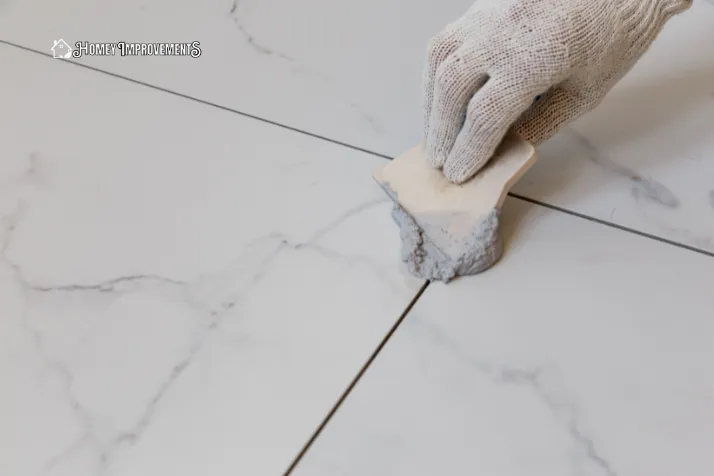
The process of filling the seams between the tiles with new and fresh grout is called grouting. Make sure the grout mixture has the right consistency. Sealing marble floors with this procedure is not difficult.
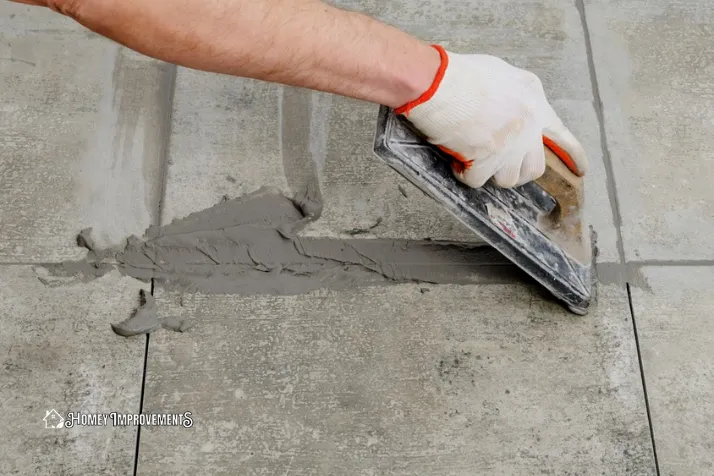
A bucket, grout, trowel, and grout float will be required to start the project. Grout float is used to spread the grout over the surface. Start filling the joints from top to bottom, then work from left to right.
Keep a sponge or cloth with you to remove any excess grout from the joints. This way, your surface will be clean, and you can gently blot large leaks. Spread the grout diagonally to get a smooth surface.
The process of removing the upper layer of grout to get a rough texture is called tooling, and this method is best for rounded tiles. To create textured lines, use the outer corner of a trowel to scrape over the tiles.
To get a colorful appearance, first, sprinkle colored grout into the joints, then fill them with the regular grout mixture.
6. Using Sponge on the Tiles
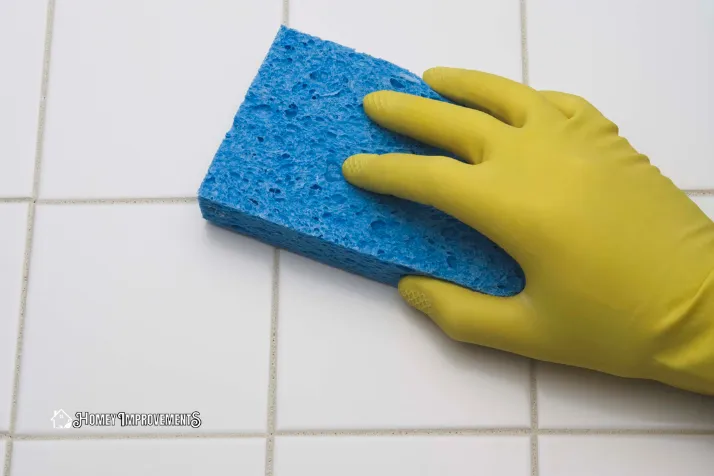
When the steps of filling and tooling are done, a thin grout layer is required to cover the joints. For this purpose, use a sponge lightly wet.
Make sure the sponge is not fully saturated because excess water will remove the grout from joints.
Do not rub it too hard on the tile surface. The movement of your sponge must be in a diagonal direction until the extra grout has gone. While working, be patient because it is a slow process.
Keep a bowl of water with you during your work. Repeatedly wash the sponge in water and change the water in the bowl to prevent it from getting muddy. Wipe the grout mist with a soft, dry cloth after waiting for 10 – 15 minutes.
7. Seal the Joints
The areas where the edges of the tiles meet with other materials must be sealed with caulk. After grouting your tiles and wiping the excess tiles, use clear silicone caulk to seal the grout joints.
Sealing gives a water-resistant and damage-resistant layer to the joints. The next step is wearing gloves and using your finger and a soft cloth to get a smooth and level layer of caulk.
8. Grout Sealing
Before applying sealer and polish, leave the tiles for two days to completely dry. For better results, try to expose them to sunlight. The last step is to apply a sealer to the grout with either a small sponge brush or a paintbrush.
There you have it. See, it is easy to regrout floor tile. Anyone can do it by following the method mentioned in this guide.
FAQs – Frequently Asked Questions
Is It Possible to Install New Grout Over Old Grout?
You can apply new grout over the old grout, but a tool to scrape old grout will be required for this purpose. Remove it for up to 2 mm depth.
Is It Necessary to Regrout Tile?
Regrouting tiles is necessary because it keeps your tiles as good and fresh as new. Tiles become mold-resistant and protect moisture from seeping into the walls. You should regrout tiles to increase their lifespan.
All Old Grout Is Necessary to Remove Before Regrouting?
The grout which is in damaged condition and stubborn dirt should be removed. The areas which are in good condition should not be removed.
If you want to change the color of the grout, you will need to remove all the grout to put a new grout.
Can You Regrout without Tiles Removal?
You don’t have to remove the tiles to regrout them. Your tiles will not look good if the grout is broken and cracks are visible. If you install it properly, it will not break or crack.
What Will happen by Installing Grout on Top of Grout?
Putting grout over the old grout without regrouting it will make a powerful layer resistant to water and molding.
Final Thoughts
I hope the eight easy steps of the article on how to regrout tile will be helpful for you. You only have to gather the tools and materials; the process is so easy that you can do it yourself.
Follow all the instructions carefully and be patient because it will take time. However, the more time you spend regrouting tiles, the better results you will get.
If you feel any difficulty doing it yourself, you can hire a professional to do it.
Leave a Reply